Dessert, Love and Red Velvet Cupcakes – A Valentine’s Day Must!
Mahatma Gandhi said, “Where there is love, there is life.” However, I say where there is love, there is obviously dessert! And nothing could be better for Valentine’s Day than love, chocolate, flowers, and absolutely delicious dessert.
While I love participating in the tradition of Valentine’s Day—mostly as an excuse to stuff my face with dessert—I believe Valentine’s shouldn’t be the only day to remind us to tell our loved ones that we cherish them, whether that be our significant others, family, friends, or ourselves. We should practice spreading joy, love, and kindness every day of the year.
Now that I’ve gotten my dose of cheesiness out of the way, let’s move on to the recipe I’m going to share today. There are so many amazing desserts I can think of to celebrate Valentine’s Day, but I think the most classic one is good old Red Velvet Cupcakes! Before I jump into the recipe, though, I have to share another one of my favorite things on this blog—a quick history lesson.
Have you ever wondered about the origins of red velvet cupcakes and Valentine’s Day? Maybe you already know, but there are a few different stories about how Valentine’s came to be. Valentine’s Day wasn’t actually established as the day of romance until the Middle Ages, and of course, it was named after St. Valentine—who was actually three different saints. Some believe it may have originated from the Pagan festival of Lupercalia, which celebrated fertility. And, of course, Cupid comes from Greek mythology. After all that, in the 1840s, the first mass-produced Valentine’s Day cards were introduced, and well, it turned into what we know today. The tradition has evolved a lot, and people now invest quite a bit of dough (no baking pun intended) into their love. According to Good Housekeeping, Americans spend almost $26 billion on Valentine’s Day gifts.
Now onto a quick history of red velvet! This delectable dessert dates back to the Victorian era. At that time, using cocoa powder was a luxury in desserts, and “velvet” cakes were named for their smooth texture due to the way the cocoa broke down the tough proteins in flour. Food coloring wasn’t widely available back then, and many believe the traditional red color came from the chemical reaction between cocoa powder, buttermilk, baking soda, and vinegar. It is also thought that during World War II, when ingredients were rationed, bakers resorted to using beet juice to enhance the red color of their cakes. As for who deserves credit for red velvet cake? Like with many desserts, no one really knows who created it, but the Waldorf Astoria Hotel claims to be the original inventor. In the end, I guess we’ll never know, but I’m just glad this dessert exists—it truly is the perfect treat for Valentine’s Day.
And with that, let’s get to the recipe!
Red Velvet Cupcakes
Ingredients (Yields 12-15 cupcakes):
- 228g self-rising flour
- 1 ½ tbsp buttermilk
- 4 eggs
- 265g unsalted butter
- 18g cocoa powder
- 255g caster sugar
- ¾ tsp baking soda
- 1 ½ tsp apple cider vinegar
- 1 tsp red food coloring
- 1 ½ tsp vanilla extract
- 1 tsp salt
Cream Cheese Frosting
- 160g unsalted butter
- 245g cream cheese
- 650g icing sugar
Preparation
Step 1:
Start by lining cupcake tins with cupcake liners and preheating the oven to 250°F.
Step 2:
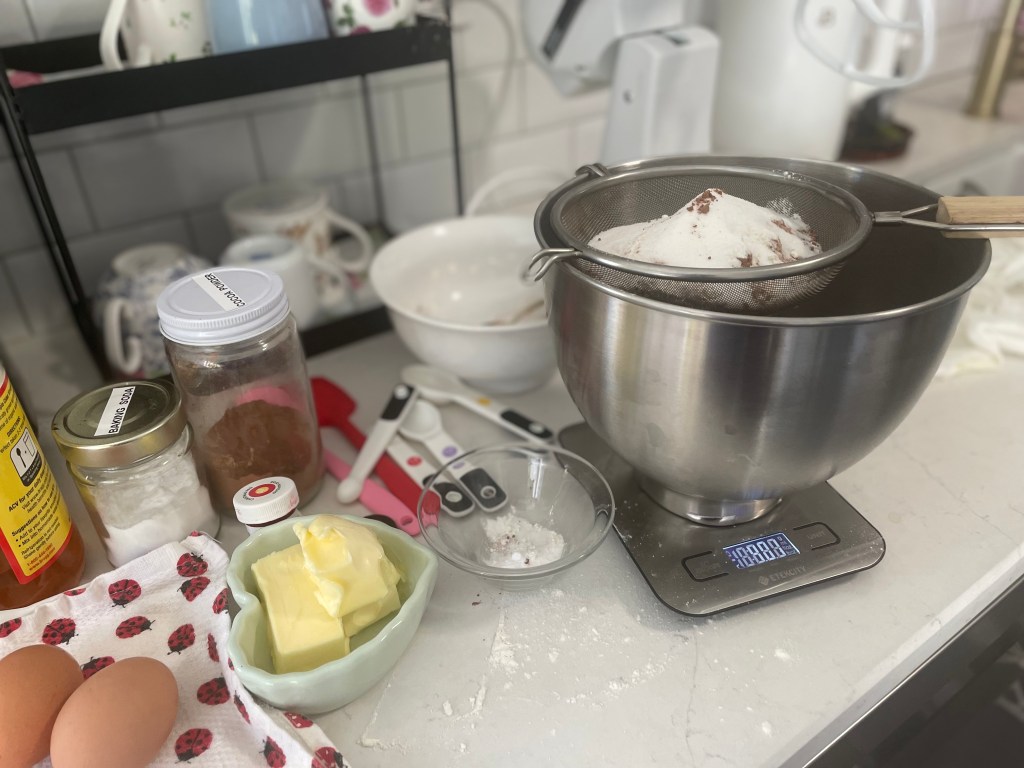
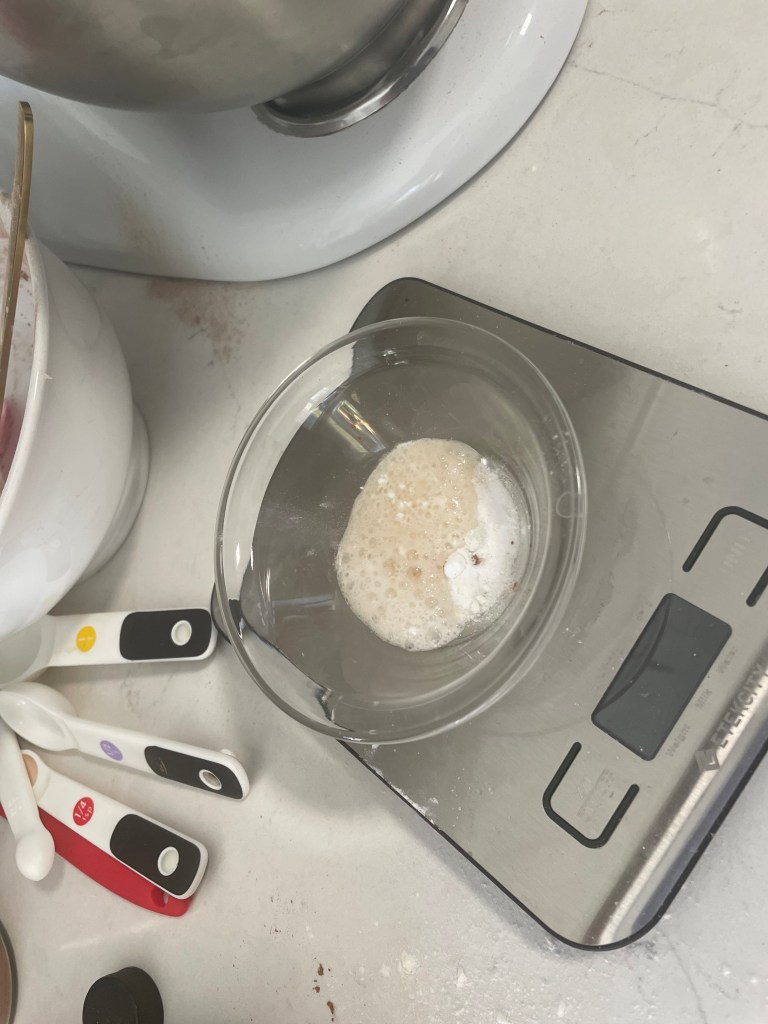
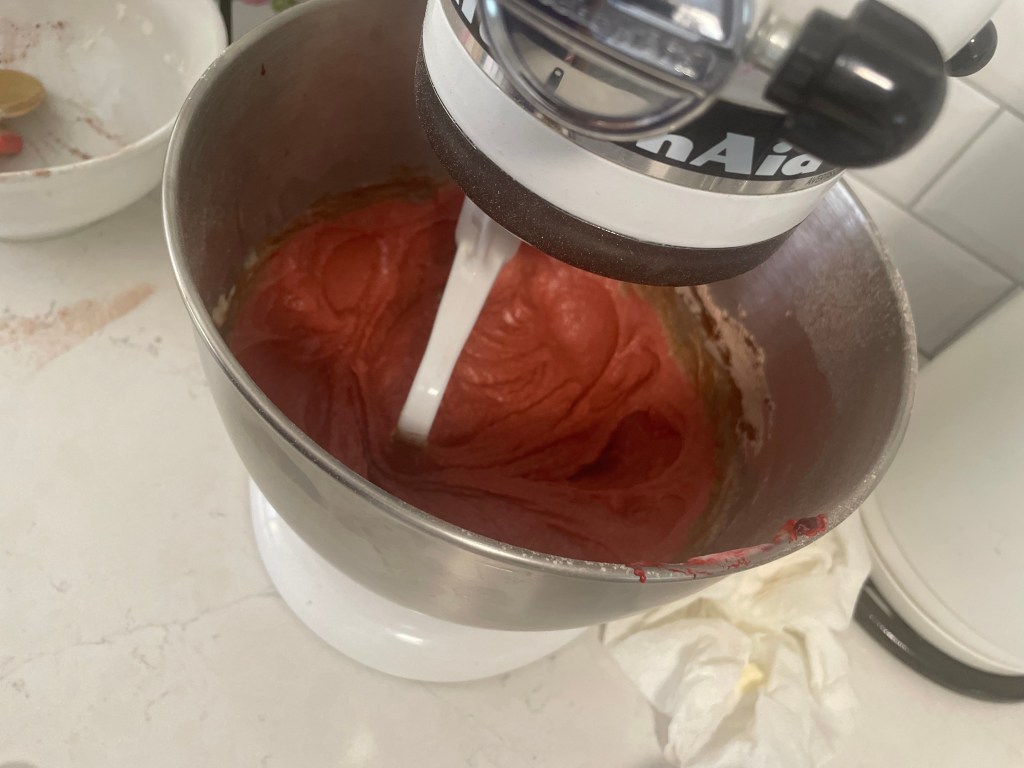
Add butter, sugar, flour, salt, eggs, and cocoa powder to a stand mixer with a paddle attachment (or use a hand mixer). Beat all ingredients on low to medium speed. In a small bowl, mix apple cider vinegar and food coloring. At the end, add the baking soda—this will cause an immediate reaction that must quickly be added to the batter and mixed on low speed. Once mixed, add salt and vanilla extract.
Step 3:
Using spoons or an ice cream scooper, portion the batter into the cupcake liners and bake for 20 minutes, keeping an eye on the cupcakes.
Step 4:
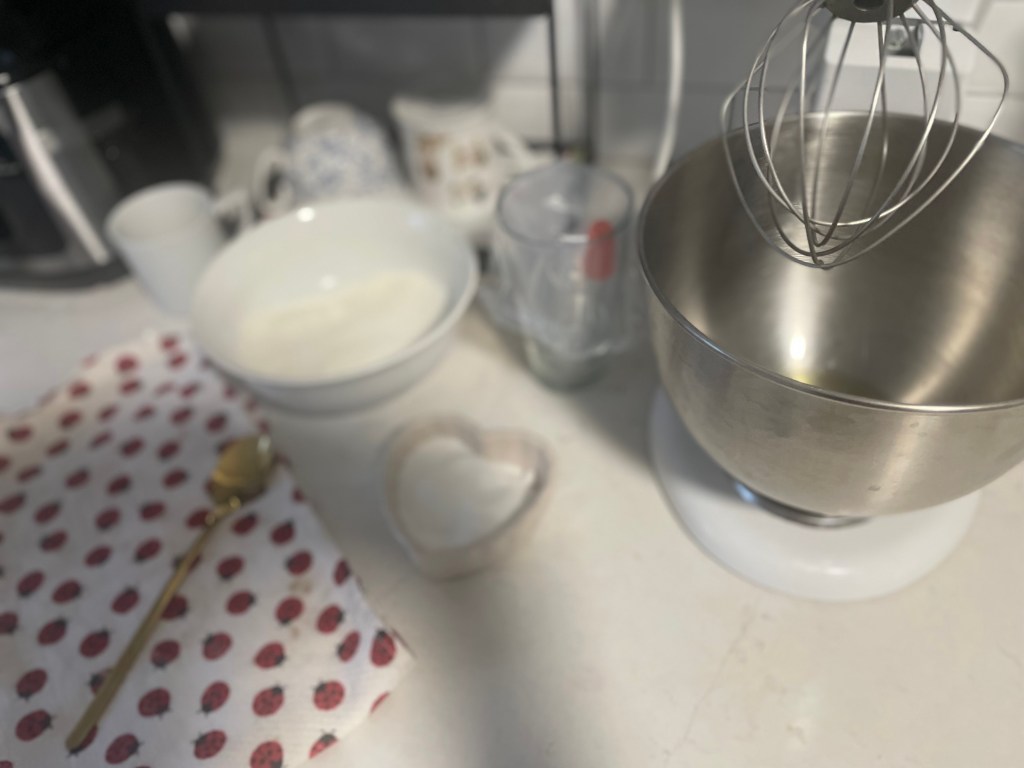
While the cupcakes are baking, it’s time to make the cream cheese frosting. In the bowl of a stand mixer (or using a hand mixer), add the cream cheese and butter. While that is mixing, sift the icing sugar into another bowl to ensure a smooth mixture. Once the butter and cream cheese are creamed together, slowly add the sugar in small batches, mixing on low speed and gradually increasing speed to avoid a mess. Beat for at least 5 minutes to achieve a true white color. Once ready, transfer the frosting to a piping bag fitted with a 1-inch nozzle.
Step 5:
Let the cupcakes cool completely before frosting. Top with heart sprinkles and enjoy these perfect red velvet cupcakes with family, loved ones, a significant other, or, like I plan to do—just eat all of them yourself! 🙂